Getting Started
Getting Started
Installation
Installation
Inspect Traffic
Inspect Traffic
HTTP Rules (Modify Traffic)
HTTP Rules (Modify Traffic)
Overview
Request Modification — Redirect URL (Map Local, Map Remote)
Request Modification — Replace Strings (Switch Hosts, API Endpoints)
Request Modification — Modify Headers
Request Modification — Modify Request Body
Response Modification — Modify Response Body
Request Modification — Modify Query Params
Request Modification — Modify User Agents
Request Modification — Delay Request
Request Modification — Map Local
Request Modification — Map Remote
Response Modification — Modify DOM/Inject scripts
Response Modification — Cancel Rule
Predefined Functions
Organizing Rule — Grouping
Organizing Rule — Import/Export Rules from File
Organizing Rule — Pause/Resume Requestly
Organizing Rule — Rule Operators
Organizing Rule — Advance Targeting
Organizing Rule — Sharing Rules
Organizing Rule — Pinning Rules
GraphQL - Modify Request & Response
Import / Export — Charles Proxy Rules
Test Rules — Test URL Condition
Test Rules — Test this Rule
Session Book
Session Book
File Server
File Server
Public API
Public API
Guides
Guides
TroubleShooting
TroubleShooting
Subscription & Billing
Subscription & Billing
Getting Started
Getting Started
Installation
Installation
Inspect Traffic
Inspect Traffic
HTTP Rules (Modify Traffic)
HTTP Rules (Modify Traffic)
Overview
Request Modification — Redirect URL (Map Local, Map Remote)
Request Modification — Replace Strings (Switch Hosts, API Endpoints)
Request Modification — Modify Headers
Request Modification — Modify Request Body
Response Modification — Modify Response Body
Request Modification — Modify Query Params
Response Modification — Modify DOM/Inject scripts
Request Modification — Modify User Agents
Request Modification — Delay Request
Response Modification — Cancel Rule
Organizing Rule — Grouping
Organizing Rule — Import/Export Rules from File
Organizing Rule — Pause/Resume Requestly
Organizing Rule — Rule Operators
Organizing Rule — Advance Targeting
Organizing Rule — Sharing Rules
Request Modification — Map Local
Request Modification — Map Remote
Organizing Rule — Pinning Rules
GraphQL - Modify Request & Response
Import / Export — Charles Proxy Rules
Test Rules — Test URL Condition
Predefined Functions
Test Rules — Test this Rule
File Server
File Server
Public API
Public API
Guides
Guides
Session Book
Session Book
Subscription & Billing
Subscription & Billing
Organizing Rules
You can override the default network request behaviour in a webpage by using one of the 10 distinct types of rules that Requestly offers. You may have developed one or more of these rules to accomplish a specific use-case. The list grows too big to manage as you add more and more rules
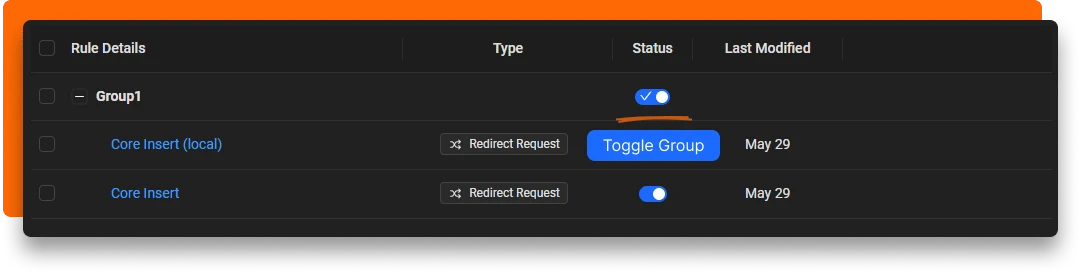
Requestly provides a option to organize them into logical groups and enable/disable in one go!
Create new group
- Go to Requestly Dashboard.
- Click New Group to add all your rules under one group name.

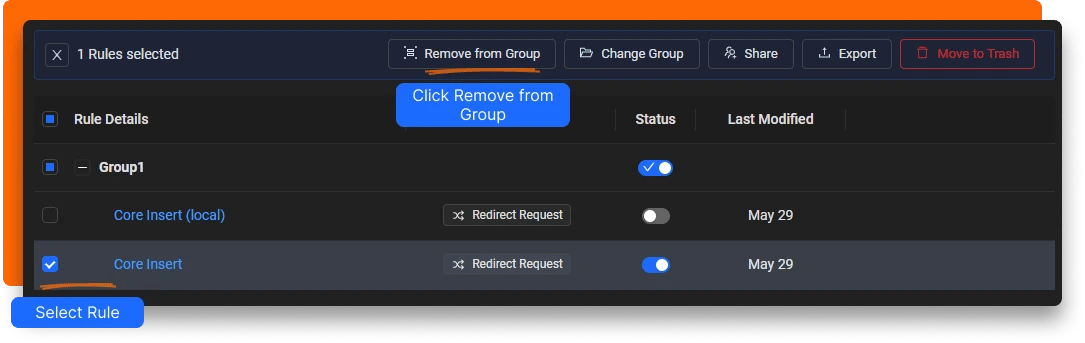
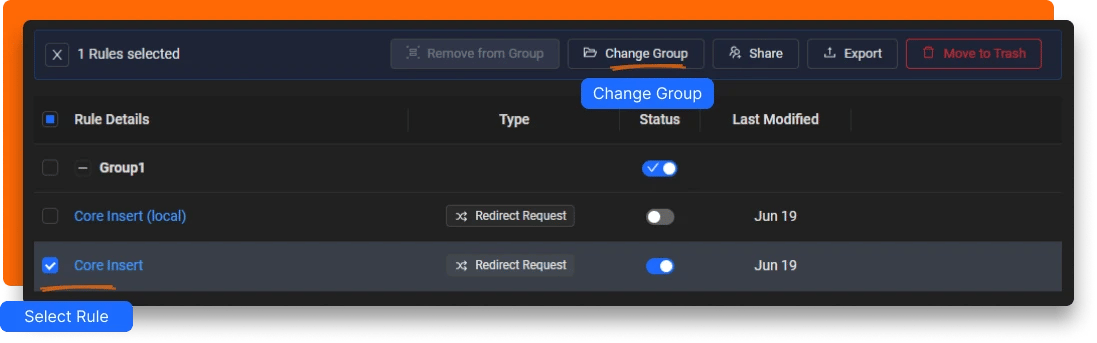
Move existing rule to a group
- Select Rules to Group.
- Click on Change Group. This would open Group Modal.
- Select an existing group you want to add the rules to or create new group.
Enable/Disable group
Ungroup Rules